
In this guide, I will show you how to use the administration tool we built to manage that list.
You need to be a superuser to be able to use this administration tool.
Understanding the effects of this list
It is important to fully understand the effects of adding, removing or editing a field in this Super Search Fields tool.
A field needs to have a unique Name, and a unique combination of Namespace and Name in database. Those are the only mandatory values for a field. Thus, if a field does not define any other attribute and keeps their default values, it won't have any impact in the application -- it will merely be "known", that's all.
Now, here are the important attributes and their effects:
Is exposed- if this value is checked, the field will be accessible in Super Search as a filter.Is returned- if this value is checked, the field will be accessible in Super Search as a facet / aggregation. It will also be available as a column in Super Search and report/list/, and it will be returned in the public API.Permissions needed- permissions listed in this attribute will be required for a user to be able to use or see this field.Storage mapping- this value will be used when creating the mapping to use in Elasticsearch. It changes the way the field is stored. You can use this value to define some special rules for a field, for example if it needs a specific analyzer. This is a sensitive attribute, if you don't know what to do with it, leave it empty and Elasticsearch will guess what the best mapping is for that field.
It is, as always, a rule of thumb to apply changes to the dev/staging environments before doing so in production. And to my Mozilla colleagues: this is mandatory! Please always apply any change to stage first, verify it works as you want (using Super Search for example), then apply it to production and verify there.
Getting there
To get to the Super Search Fields admin tool, you first need to be logged in as a superuser. Once that's done, you will see a link to the administration in the bottom-right corner of the page.

Clicking that link will get you to the admin home page, where you will find a link to the Super Search Fields page.
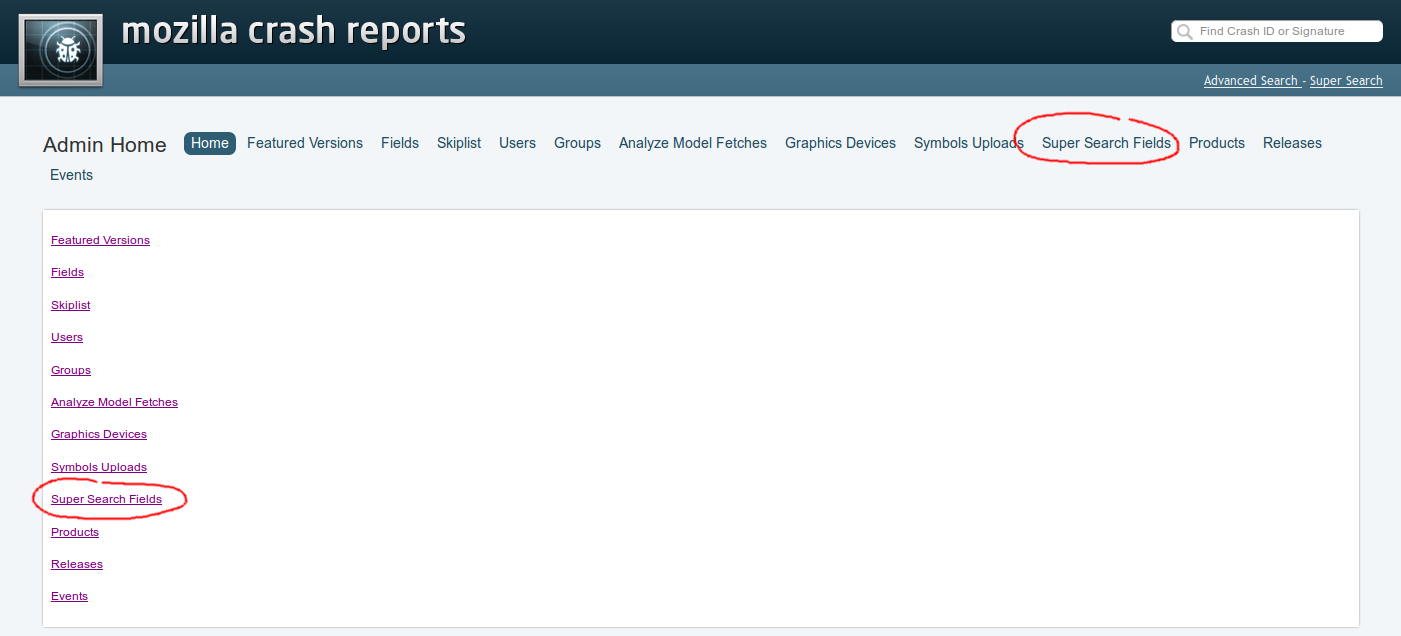
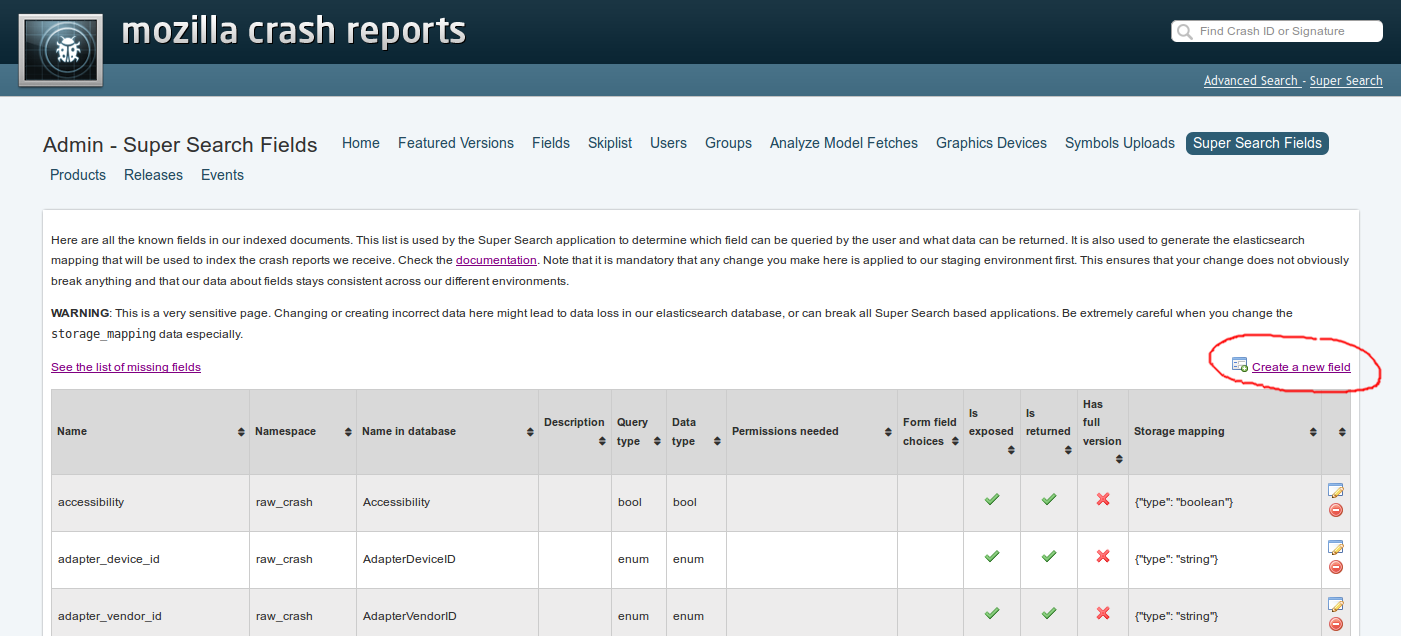
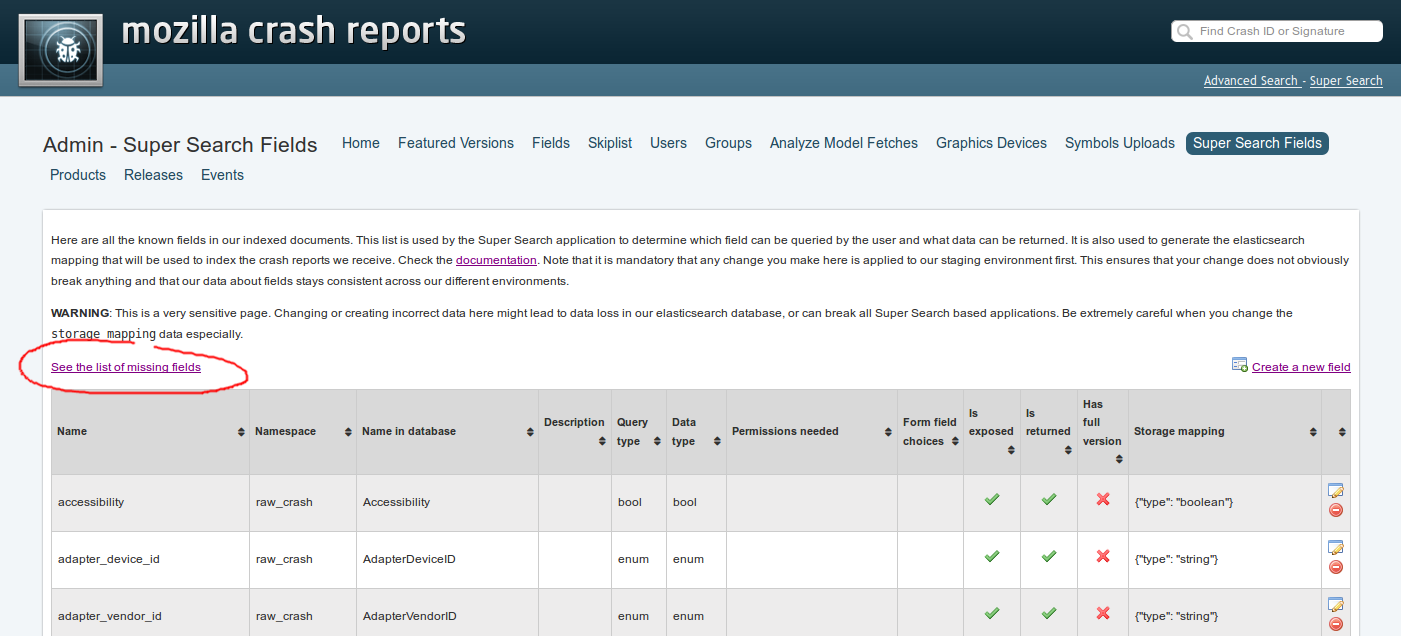
The Super Search Fields page lists all the currently known fields with their attributes.

Adding a new field
On the Super Search Fields page, click the Create a new field link in the top-right corner. That leads you to a form.
Fill all the inputs with the values you need. Note that Name is a unique identifier to this field, but also the name that will be displayed in Super Search. It doesn't have to be the same as Name in database. The current convention is to use the database name but in lower case and with underscores. So for example if your field is named DOMIPCEnabled in the database, we would make the Name something like dom_ipc_enabled.
Use the documentation about our attributes to understand how to fill that form.
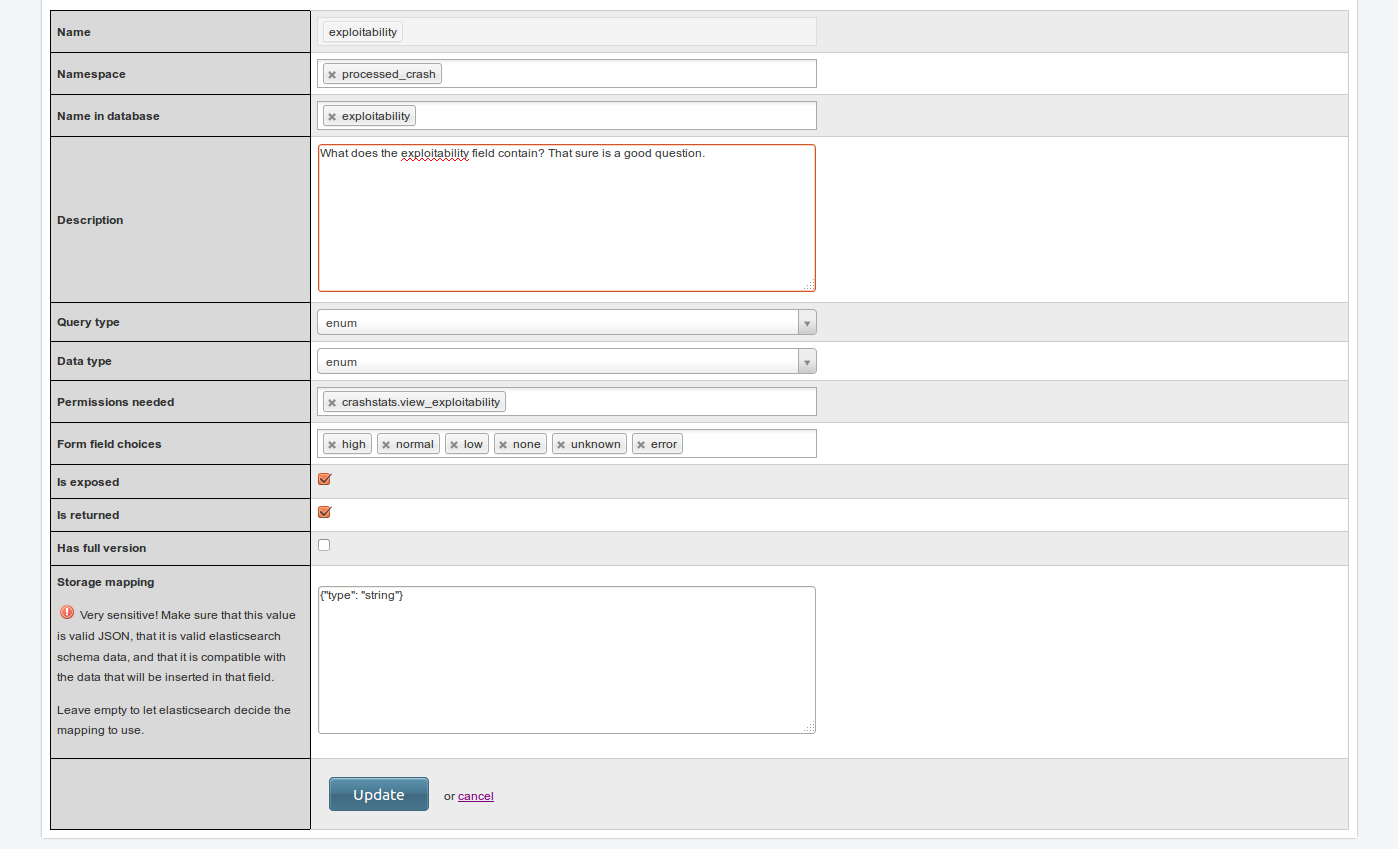
Clicking the Create button might take some time, especially if you filled the Storage mapping attribute. If you did, in the back-end the application will perform a few things to very that this change does not break Elasticsearch indexing. If you get redirected to the Super Search Fields page, that means the operation was successful. Otherwise, an error will be displayed and you will need to press the Back button of your browser and fix the form data.
Note that cache is refreshed whenever you make a change to the list, so you can verify your changes right away by looking at the list.
Editing a field
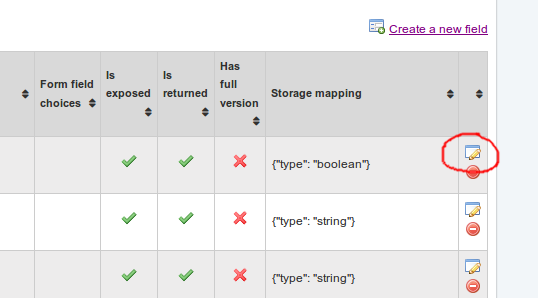
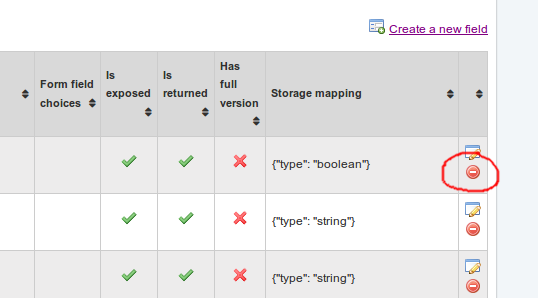
Find the field you want to edit in the Super Search Fields list, and click the edit icon to the right of that field's row. That will lead you to a form much like the New field one, but prefilled with the current attributes' values of that field. Make the appropriate changes you need, and press the Update button. What applies to the New field form does apply here as well (mapping checks, cache refreshing, etc. ).
Deleting a field
Find the field you want to edit in the Super Search Fields list, and click the delete icon to the right of that field's row. You will be prompted to confirm your intention. If you are sure about what you're doing, then confirm and you will be done.
The missing fields tool
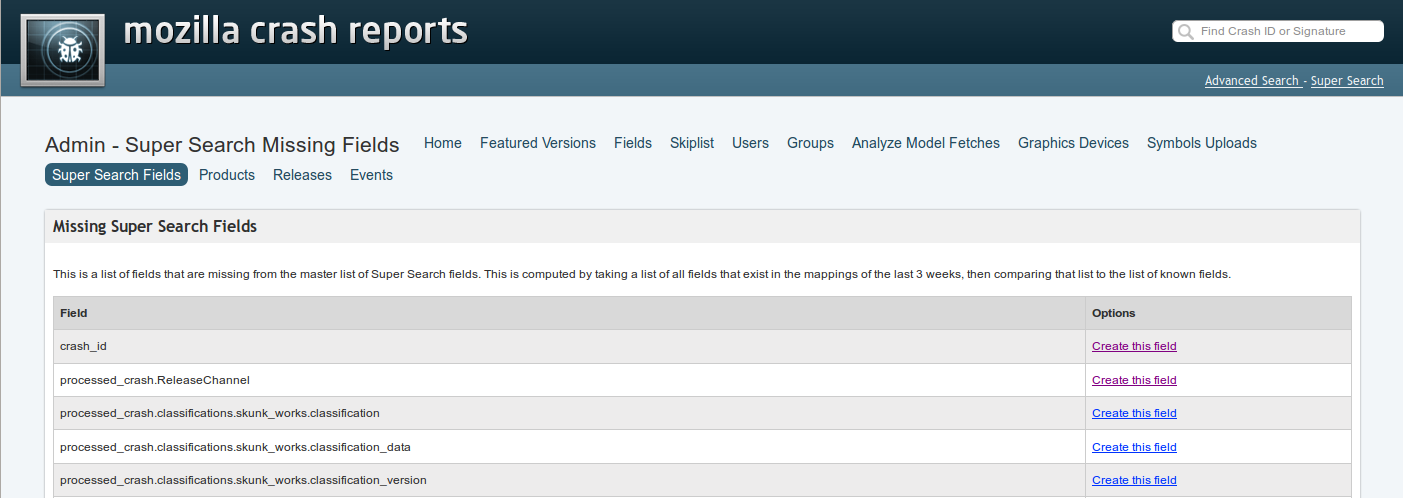
We have a tool that looks at all the fields known by Elasticsearch (meaning that Elasticsearch has received at least one document containing that field) and all the fields known in the Super Search Fields, and shows a diff of those. It is a good way to see if you did not forget some key fields that you could use in the app.
To access that list, click the See the list of missing fields link just above the Super Search Fields list.
The list of missing fields provides a direct link to create the field for each row. It will take you to the New field form with some prefilled values.
Conclusion
I think I have covered it all. If not, let me know and I'll adjust this guide. Same goes if you think some things are unclear or poorly explained.
If you find bugs in this Super Search Fields tool, please use Bugzilla to report them. And remember, Socorro is free / "libre" software, so you can also go ahead and fix the bugs yourself! :-)